
Sewing a Baby Mat—Because Floors Are Hard & Babies Are Squishy
When I tell you I was THIS close to buying one of those overpriced baby mats…

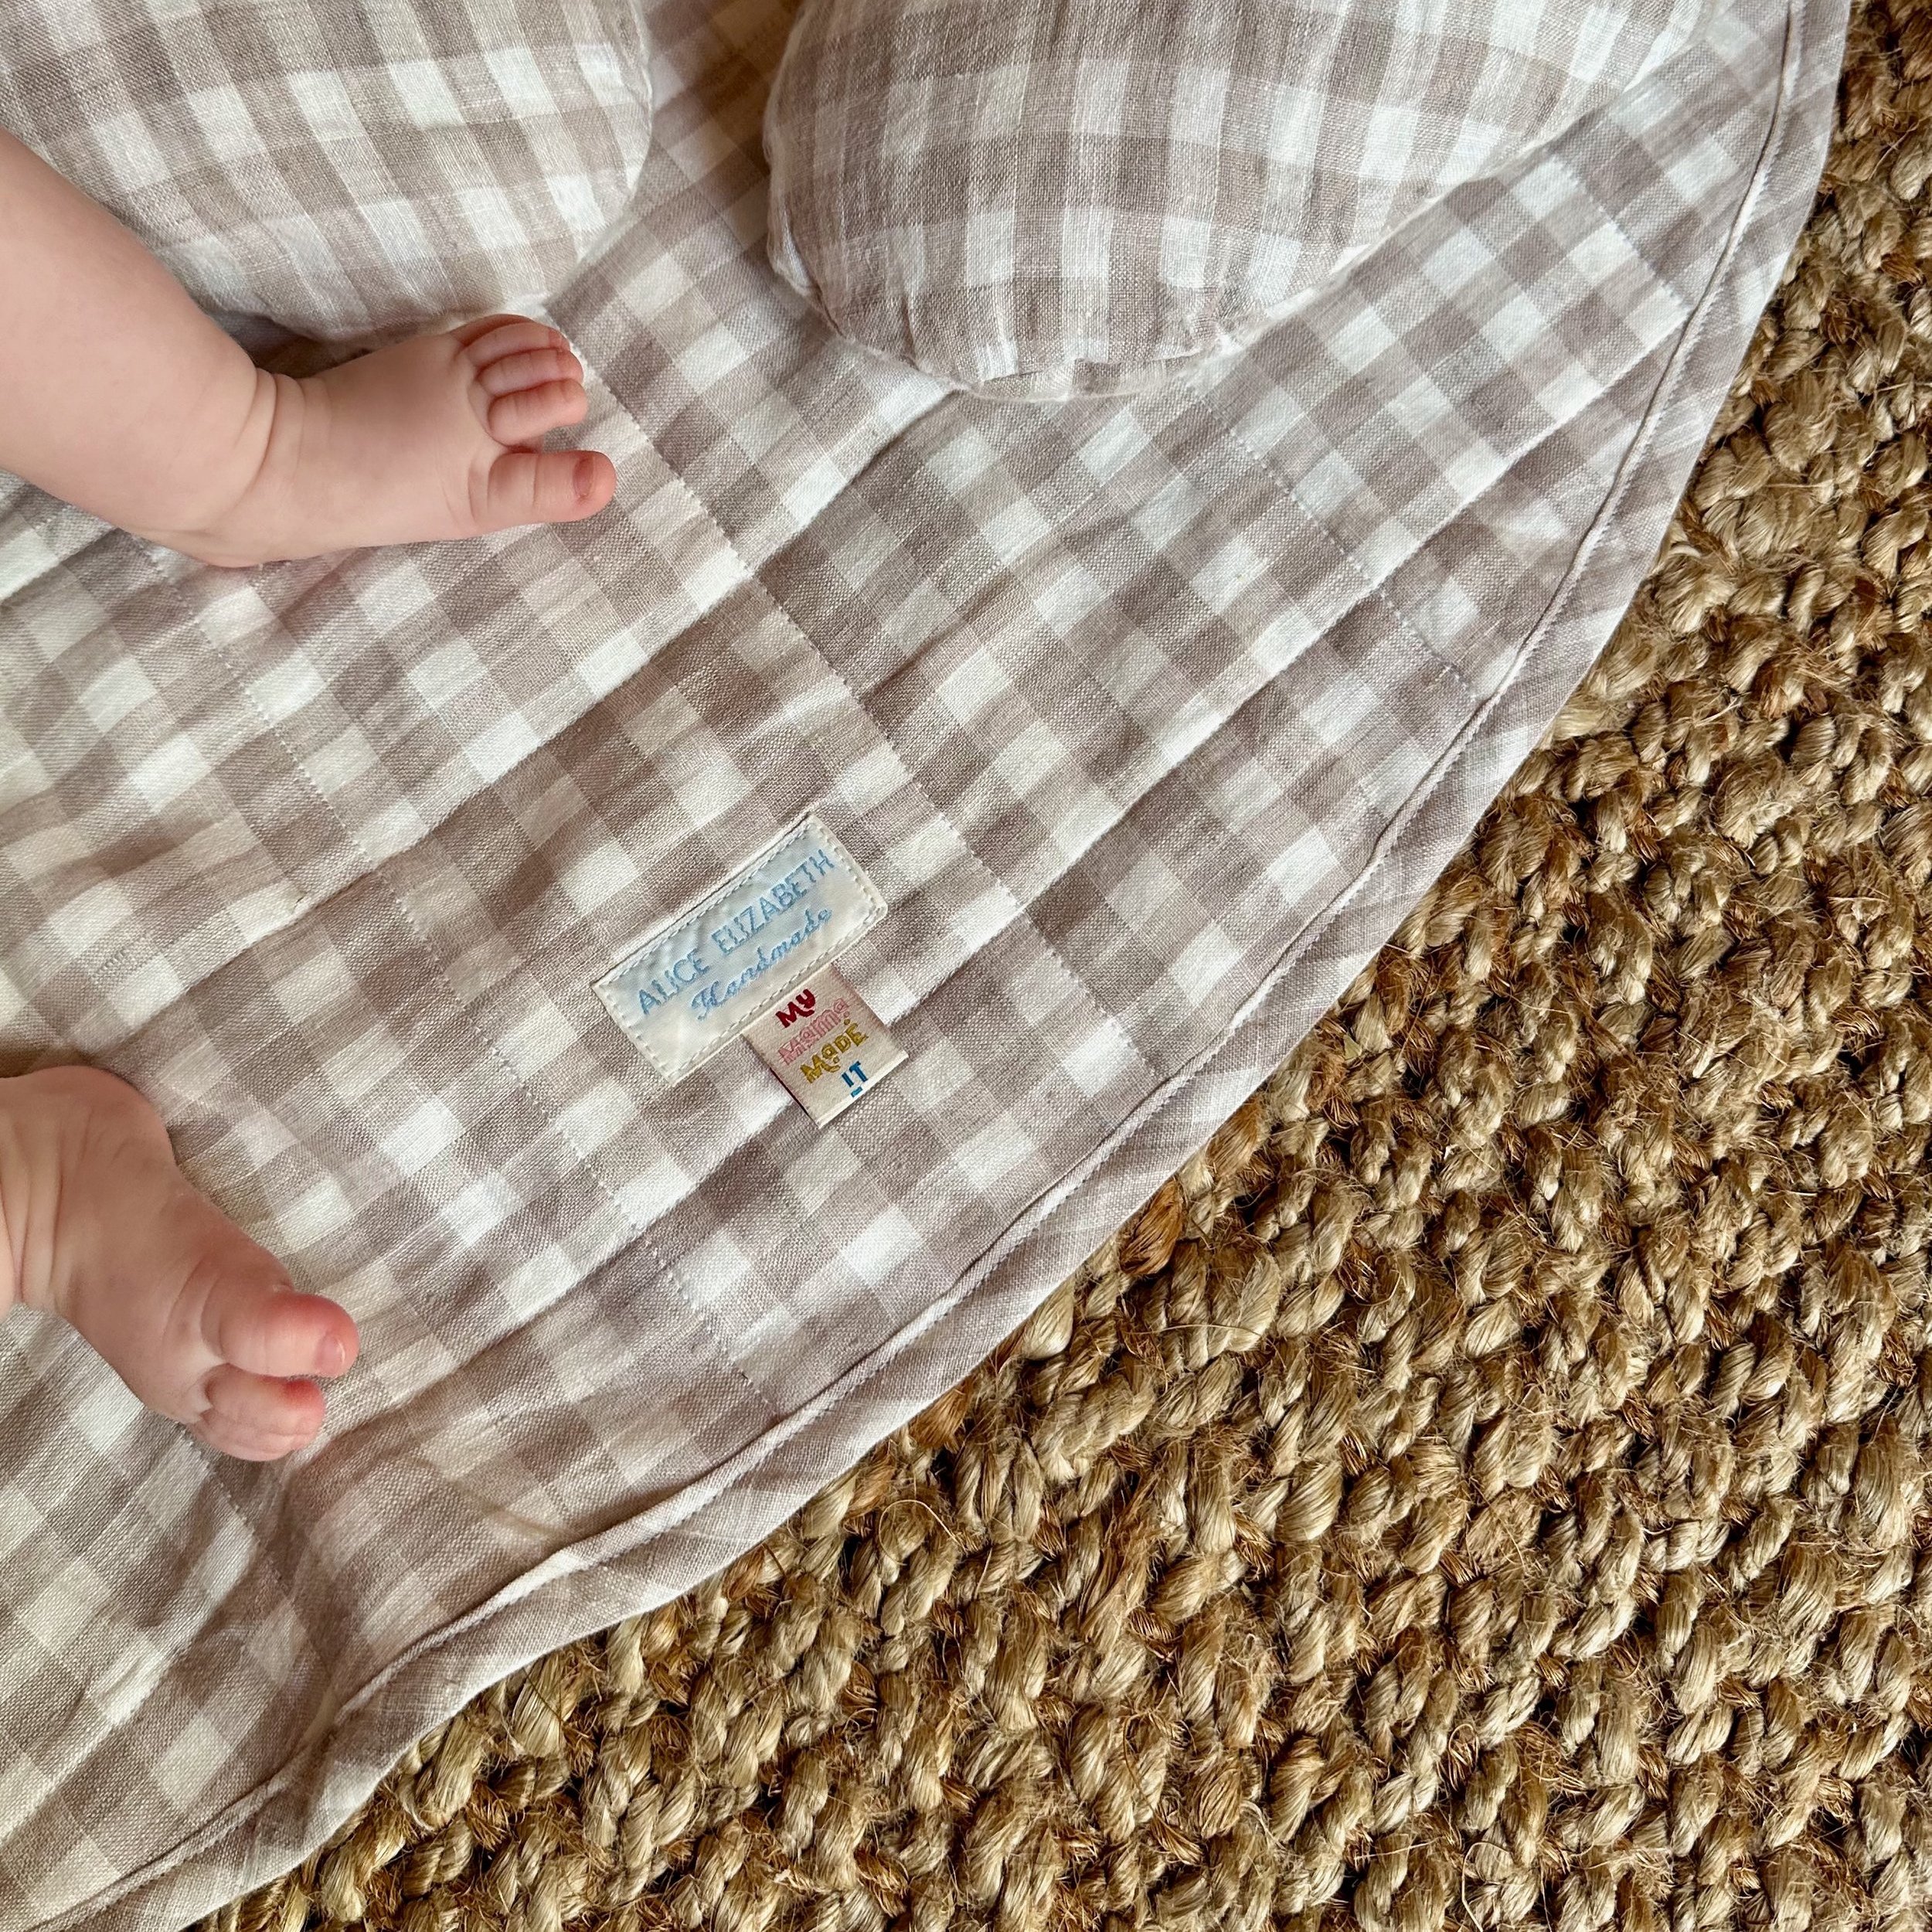
A round enough baby mat.
Let’s be real: babies come with a lot of stuff. And as much as I love a good shopping spree, I couldn’t justify spending a small fortune on a baby mat when I could just make one myself. Plus, I was craving a sewing project that wasn’t a tiny onesie requiring patience and precision (neither of which I possessed in my pregnant state). Enter: The DIY Baby Mat.
This project is perfect if you want something stylish, practical, and, most importantly, machine washable. It’s also a quick sew, if you don’t faff about with a foam lining rather than wadding. Here’s how I made mine and what I’d do differently next time.
Fancy making your own? Jump here to get the TL;DR instructions.
The Process

Excuse the paint marks on the wall, we had a roof leak and baby sewing was prioritised over wall painting.
Measurements & Fabric Choices
I wanted a mat big enough for a parent to sit on with the baby, but not so huge that she’d look lost on it alone. After checking out store-bought options, 115cm diameter seemed the sweet spot—spacious yet practical. Turns out, it was a solid choice—it folds up neatly and even fits in the nappy bag for park trips.
I went for two gorgeous linen fabrics from my local Spotlight—because, let’s be honest, it’s the only in-person fabric shop where I live. I wanted a neutral look that wouldn’t scream primary colours overload and would blend seamlessly into any room. Also, beige and gingham? The perfect print to camouflage the inevitable spills, leaks, and mystery stains that come with parenthood.
For the top, I chose a classic gingham linen. For the bottom, a solid beige linen. The bias binding was up for debate—contrasting or matching? In the end, I used leftover gingham scraps to make wide bias tape, because why not?
Prepping the Fabric (A.K.A. How to Avoid a Thread Nest Disaster)

If quilting, I advise using this technique (see below).
Step one: overlock the edges. Linen loves to fray, and I love not cleaning my washing machine filter every five minutes, so I serged the raw edges before pre-washing at 40°C. Baby spills aren’t exactly delicate cycle friendly, so I wanted to make sure this mat could handle a proper wash.
Once air dried, it was time to cut. I folded the gingham fabric in half, tied a string to an air-erasable fabric pen, and measured out my circle’s radius (57.5cm). With my string compass, I drew a semi-circle and cut it out, using it as a template for the beige backing fabric.
Perfection? Not quite. Good enough? Absolutely. If I had the space, I would cut out the full circle with the fabric laid out flat, but we gotta work with what we’re given sometimes and my pregnant belly was not allowing me to contort into all sorts of positions that I used to get into when cutting on the floor.
A quick staystitch around the edges stopped the round hem from stretching—and saved my sanity later.
The Padding Saga (A Lesson in What NOT to Do)
Originally, I had grand plans for maximum cushioning—because precious baby. I even had leftover foam from another project, thinking, Perfect! I’ll quilt the layers together!.
Spoiler: Cutting foam into a perfect circle is a nightmare. And sewing fabric to foam? Even worse.
After a brief existential crisis and a few choice words, I abandoned the foam idea and switched to cotton wadding. Instantly, the process became 1000x easier. I quilted all the layers together, which, in hindsight, I should have done before cutting the final circle. That would have made life (and sewing) much simpler.
The Most Satisfying Part: Bias Binding

The beautiful quilted backside of the mat.
Once everything was quilted and looking semi-respectable, it was time to tackle the edges. I made wide bias tape from my gingham scraps and carefully enclosed the raw edges. There’s something deeply satisfying about watching a project come together with neat, clean lines.
To finish, I added a “my mama made it” and “circa 2024” label from Kylie and the Machine, plus some personalised labels I’d hoarded since my Brighton days. And just like that—one baby mat, ready for la bébé.
Final Thoughts: Would I Do It Again?
Ten little fingers and ten little toes enjoying the mama made mat.
Absolutely. This mat has been one of the most used handmade items for my baby, and it’s held up beautifully. My one regret? Not adding an extra layer of wadding. Our tiled floors are unforgiving, and while it’s fine on top of a thick rug, a little more cushioning wouldn’t have hurt.
If you’re expecting, have a new baby, or need a gift idea, I highly recommend making one of these. It’s easy, practical, and a good palate cleanser.
TL;DR – Fabric, Notions & Instructions
Fabric & Notions
Choose your size – I went with a 115cm diameter for plenty of room to grow.
Fabric – Buy 10% extra to allow for error. For a 115cm circle, I got 1.25m each of top and bottom fabric (ensuring the width was at least 1.25m), plus the same for wadding.
Bias binding – Length = 10% longer than your circle’s circumference (circumference = 2πr). Width is personal preference but must enclose all layers—I used (double folded) 3.5cm.
Tools – Sewing machine (unless you fancy hand-sewing for the next decade), fabric scissors, thread, and the usual suspects.
Instructions
Pre-wash & dry your fabric (unless you enjoy post-wash shrinkage surprises).
Quilt all layers together before cutting—trust me, it makes life easier. (Skip this step if you’re skipping quilting.)
Cut your circle using a string compass + fabric marker method. Folded fabric works, but cutting it flat makes for a neater shape.
Enclose edges with bias binding for a clean finish.
Add labels (optional)—because a “Mama Made It” tag is always a flex.
And voilà! Time to admire your work, snap a pic, and bask in the satisfaction of a job well sewn.
What About You?
Would you make a baby mat? Have you sewn anything surprisingly useful for life with a little one? Let me know in the comments—I love hearing about your makes (and your sewing mishaps)!
P.S. If you liked this post, subscribe to my blog so I have extra motivation to keep writing (because let’s face it, I need it). And if you’re feeling extra lovely, share this with a fellow sewist who might need a new project!